
Manage campaigns
A campaign is not fixed once created. You can change its schedule, its pacing, and its failure handling at any point, and delete it when it is no longer needed.
Edit a campaign
You reach a campaign's settings from the Outbound automation screen.
To change a campaign:
-
In the Navigation pane, expand Hub+, and select Outbound automation.
-
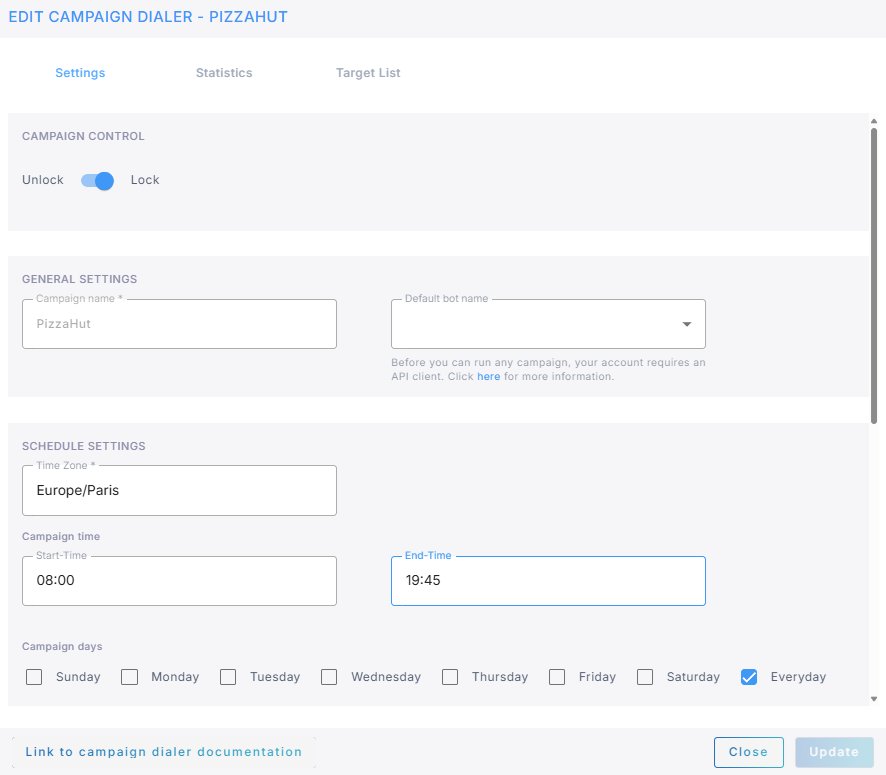
On the campaign, click Actions, and then select Edit Campaign.
-
On the Settings tab, change what you need. The fields are the ones you filled in when you created the campaign. See Create a campaign.
The campaign name is fixed, and so is the time zone once the campaign has enabled targets.
-
Click Update.
The other two tabs of this dialog are where you add the people to call and monitor the campaign's progress. See Manage targets and Run and monitor campaigns.
Delete a campaign
Deleting a campaign also deletes its targets, settings, and statistics.
An active campaign cannot be deleted. Lock it first.
To delete a campaign:
-
In the Navigation pane, expand Hub+, and select Outbound automation.
-
On the campaign, click Actions, and then select Delete Campaign.
-
Click Delete to confirm.